
A kitchen splashback might seem like a small detail, but it has a big influence on how the whole room comes together. Most people put real care into choosing their cabinets and worktops, then leave their kitchen splashbacks as a last minute decision, which is where most mistakes begin.
Whether you’re planning a full renovation or simply refreshing a tired wall, a little thought now saves a lot of regret later. Below are the most common mistakes, along with some simple ways to avoid them.
Leaving the Splashback Until Last
One of the most common mistakes is treating the splashback as an afterthought. Homeowners lock in their cabinets and worktops first, then try to make a splashback fit around everything else. This often limits the options and leads to a finish that feels slightly off.
A well-designed kitchen starts with thoughtful planning. By choosing your splashback alongside your worktops and cabinetry, you can create a space where every surface works together, resulting in a more refined and cohesive finish.
Choosing the Wrong Material
One of the most common kitchen splashback mistakes is choosing a material based purely on appearance. A finish that looks stunning in a showroom or online may not be the best fit for the way you use your kitchen every day. Areas behind the hob are exposed to heat, steam, grease and frequent cleaning, so performance matters just as much as style.
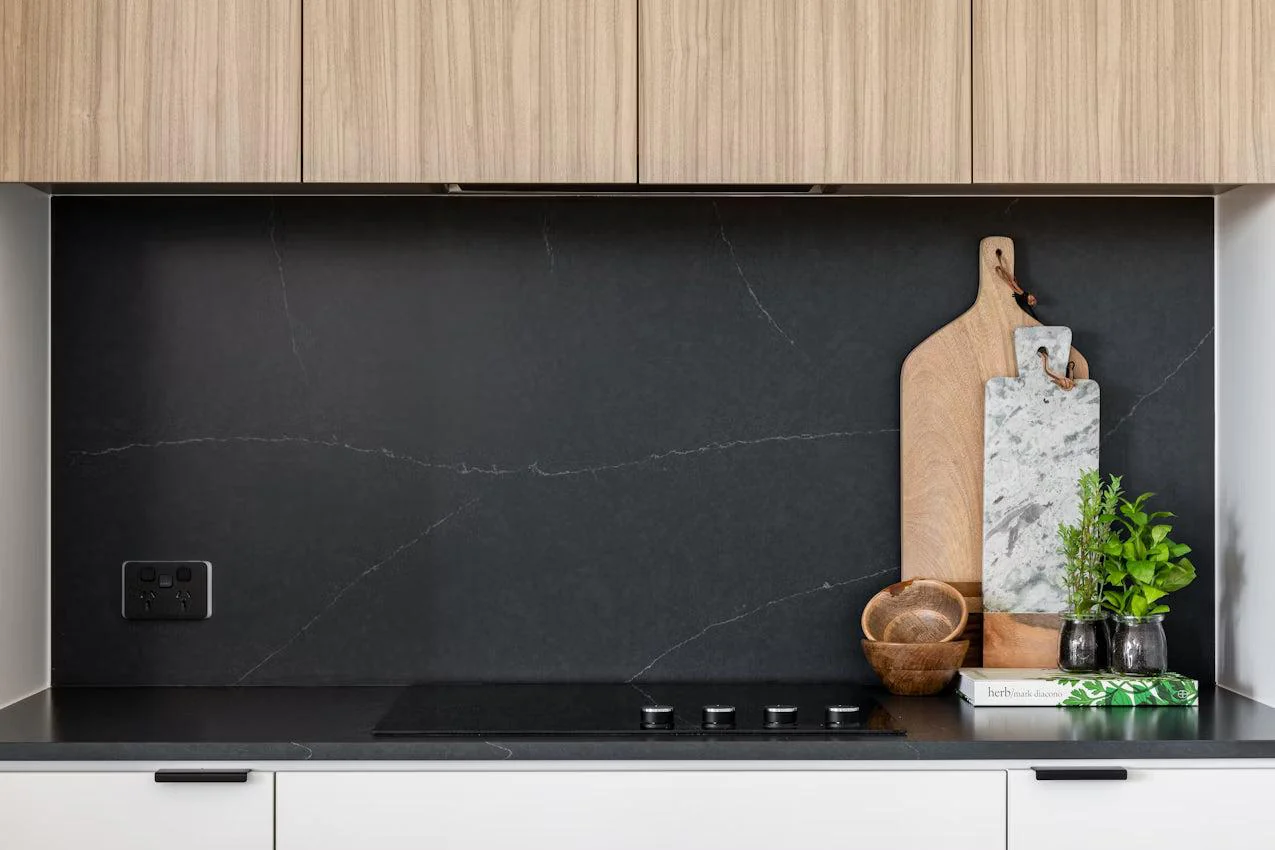
Glass splashbacks are a popular choice because it’s easy to clean, highly resistant to heat and ideal for busy cooking spaces. Porcelain offers a different aesthetic, bringing the look of natural stone with exceptional durability and low maintenance. Taking the time to compare materials before making a decision can help you choose a kitchen splashback that not only looks great but also performs well for years to come.
Forgetting About Maintenance
Looks matter, but so does upkeep. Some surfaces need barely any attention, while others show every fingerprint and water mark. A mirrored or metallic finish can look stunning on day one, yet it often needs more frequent cleaning to stay that way.
Be honest with yourself about how much time you’ll spend wiping down surfaces. For many people, a low maintenance finish makes far more sense than something that demands constant care. The trick is to match the upkeep to your lifestyle rather than the showroom fantasy.
Getting the Colour Wrong
Colour is where plenty of kitchens come unstuck. A shade that looks perfect on a small sample can feel overwhelming once it covers a whole wall. Bold colours seem exciting at first, then tire quickly when there are a lot of them.
Always test your colour properly before buying. Look at it in daylight and under your kitchen lights, since both change how a shade reads. Place the sample right next to your worktop and cabinets as well.
Ignoring the Lighting
Lighting changes everything behind a worktop. The same splashback that sparkles under showroom spotlights can fall flat beneath your warm kitchen bulbs. It’s easy to forget that your kitchen lighting is nothing like the place where you first saw the product.
Reflective surfaces bounce light around and can lift a darker corner. A painted glass splashback in a soft tone brightens a dim kitchen without much effort at all. Think about where the light falls and pick a finish that works with it rather than against it.
Putting Style Before Function
A splashback has a job to do. It protects your wall from grease, water and heat. Some people focus so hard on the look that they overlook this basic purpose. A pretty tile with deep grout lines soon traps grime behind the hob.
Choose a surface that cleans easily and seals well. Smooth materials like glass leave nowhere for grease to hide, so you get the protection you need without scrubbing at awkward joints every week. Style and function sit together happily when you choose with both in mind.
Skimping on Coverage
Another frequent error is covering too little wall. A thin strip behind the hob can look stingy and leaves the surrounding walls open to splashes. Cooking is messier than most people expect and those gaps soon start to show stains.
Run the splashback higher and wider than feels strictly necessary. Take it up behind the hob and along the worktop run. Fuller coverage protects more of the wall and gives a cleaner, more deliberate finish.
Mismatching the Splashback and Worktop
Your worktop and splashback sit right next to each other, so they need to agree. A clumsy pairing jars the eye every time you walk in. Some people choose each one in isolation, then wonder why the finished kitchen feels a little off.
Look at the two together from the very start. A glass splashback can pick up a tone from the worktop and pull the whole scheme together.
Following Trends Too Closely
Trends move fast. A finish that feels current today can look dated within a couple of years. Lean too hard into a passing fashion and you may regret it at the next redecorate.
A small touch of what’s in fashion does no harm at all. The trick is to set it against something with real staying power. A timeless base with a trend led accent always ages better than a kitchen built entirely around one fleeting look.
Cutting Corners on Fitting
Even the most beautiful kitchen splashback can lose its impact if it isn’t installed properly. Trying to cut costs on installation often leads to uneven edges, visible gaps, or an untidy finish that takes away from the overall design. After spending time choosing the right splashback, it’s worth making sure it’s fitted to the same standard.
Professional installation is especially important for glass and porcelain splashbacks, where precise measurements and careful fitting make all the difference. A well-installed splashback not only looks seamless but also performs better over time, giving your kitchen a high-quality finish you’ll appreciate every day.
Bringing It All Together
Most kitchen splashbacks fail for simple reasons. People rush the choice, pick the wrong material or forget how the space really gets used. Before you decide, it helps to keep a few things in mind:
- How your cabinets and worktops will sit alongside it
- How much natural and artificial light the room gets
- How much cleaning you’re realistically willing to do
Slow down at this stage and the rewards last for years. A splashback you’ve chosen with care does more than protect the wall behind your hob. It sets the tone for the whole room and pulls your cabinets, worktops and lighting into one considered look.
Request free samples from Simply Splashbacks so you can see how the finishes look in your own kitchen before you commit.